Showing posts with label nailritz. Show all posts

Sunday, December 18, 2011

Starbucks Peppermint Mocha Inspired Mani!

My favorite drink around the holidays is Starbucks' Peppermint White Mocha. I wanted to do a mani using a marbling technique without water, since we all know water marbling isn't so easy. This is the look I came up with!

I started with Sephora by OPI's base coat, which I've been loving lately.

Then I used the marbling technique and painted my nails one thick coat of Sephora by OPI's Under My Trench Coat. I then blobbed on a white polish & took a dotting tool to swirl it to look like cream in a hot drink!


Now it was time to stick on same festive designs I had premade using nail art pens & a piece of plastic. I made two Starbucks cups for my ring fingers and some candy canes for my thumbs.


I stuck them on using Sally Hansen Advanced Hard As Nails Strengthing Top Coat.. which I hate writing out.. & then also topped all my nails with this top coat!

I love this finished result!
I hope you enjoyed & if you try it out let me know!

xoxo


Monday, September 5, 2011

Tutorial: Glam Lady Bug Nails!

Sometimes I like to just have something cute on my nails instead of a very dramatic and complicated design.
This tutorial will show you how to make each and every one of your nails into a good luck charm!

The products I used are pictured below.
China Glaze Ruby Pumps, L.A. Colors Art Deco Poish in Black, Nail Ritz Pen in Black (even though white is featured), a dotting tool, and a post-it note.
I also used a cream red polish, and some pearls.

First I started with Seche Clear base coat, as usual, and then I added a cream red polish as a base color.
Next, I used two coats of China Glaze Ruby Pumps to give the lady bug a nice sparkle!
After this, I used the L.A. Colors polish in black to create one line down the center and then a black tip.

Then, I added three black spots on each side with the Nail Ritz pen.
Lastly, I dotted some clear polish on the tip and added two pearls for eyes!
I sealed with a Seche Vite topcoat and this is the finished result..


Hope you enjoyed and try this look out!
xoxo

Friday, June 10, 2011

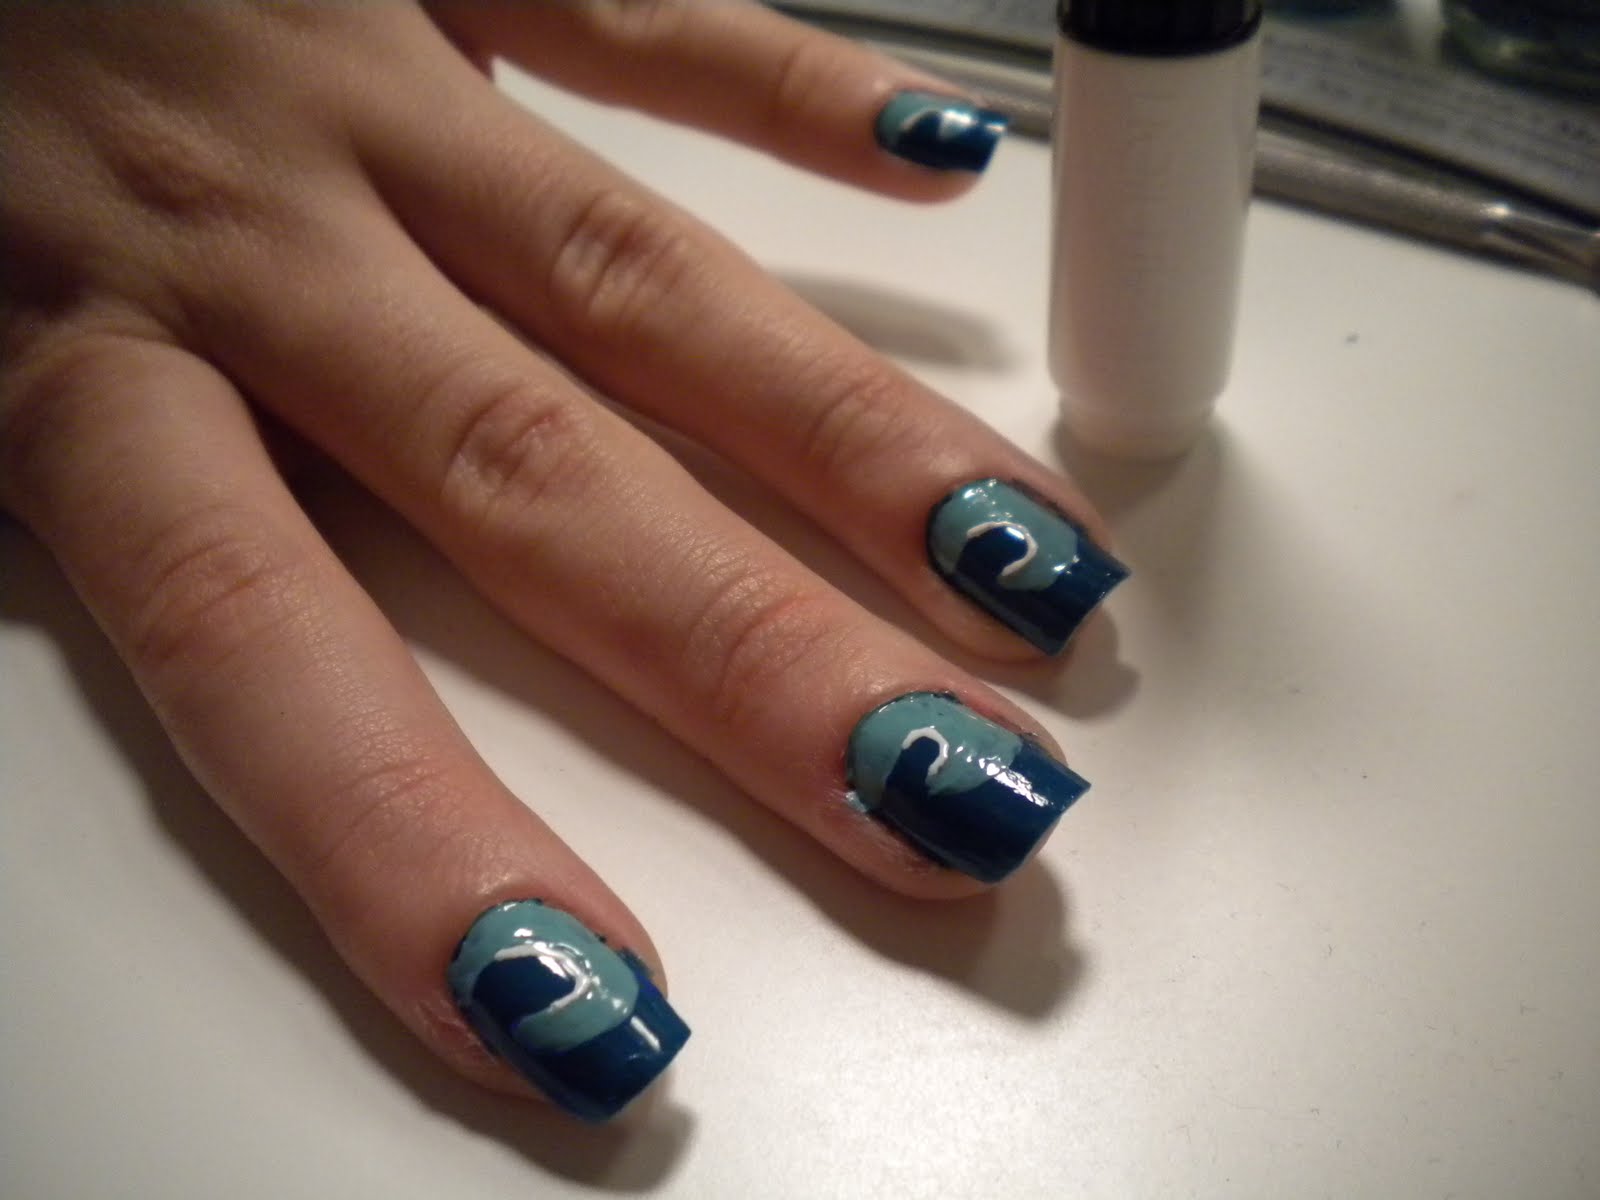
Tutorial: Ocean Wave Nails

I did a simple nail look today that was inspired by the ocean waves. I've had this idea in my head for a while and I think it just looks so cool on my nails!

Here are the products I used..
Seche Clear base coat and Seche Vite top coat.
Two NailRitz pens in blue and white, China Glaze Shower Together, China Glaze For Audrey, A Color Club Nail Art Brush in Turquoise Glitter, Mango Miracle Cuticle Remover, a nail file, a cuticle pusher, and I also used a small nail art brush but I forgot to include it in the photo.

So the first thing I did was use my base coat and then apply two coats of China Glaze Shower Together.

Next, I used the NailRitz pen in blue to create the outline of the ocean wave.

After that, I took my small nail art brush, which you can get for a couple dollars at Sally's probably, and I filled in the wave with China Glaze For Audrey.

I took the NailRitz pen in white and just highlighted the inside curl of the wave.

The last color I used was a Color Club nail art brush in turquoise glitter and I just added this sparsely inside the wave to give it some dimension.

After adding Seche Vite top coat this is the finished look.


Hope you enjoyed.

xoxo